How to Make an Oreo Cake in a Cup: Quick, Easy, and Delicious!
Craving a quick, indulgent dessert but don’t want the hassle of baking an entire cake? Look no further than the Oreo cake in a cup! This delightful single-serving treat is a game-changer for dessert lovers who value simplicity, speed, and flavor. In just a few minutes, with a handful of pantry staples and a microwave, you can create a moist, rich, and irresistible cake right in your favorite mug. It’s no wonder this recipe has become a viral sensation!
So, what makes the Oreo mug cake so special? First, it’s unbelievably easy to make. With just Oreos and milk as your base, this dessert is accessible to anyone—no advanced baking skills required. Whether you’re a busy parent, a college student, or someone with a sudden sweet tooth, this recipe is a lifesaver. It’s also incredibly versatile: you can customize it with add-ins like peanut butter, Nutella, or even a dollop of ice cream on top.
This recipe isn’t just about convenience; it’s also about satisfaction. The rich chocolatey flavor of Oreos, combined with the soft, fluffy texture of the cake, makes it a crowd-pleaser for all ages. Plus, the single-serving portion means no leftovers and no guilt!
Ready to dive in? In this article, we’ll walk you through how to make an Oreo cake in a cup, step-by-step, along with variations, tips, and FAQs to ensure your dessert turns out perfect every time. Let’s get started!
Introduction to Oreo Cake in a Cup
Why Choose an Oreo Mug Cake?
The Oreo mug cake is the ultimate go-to dessert for busy individuals. It’s fast, requires minimal ingredients, and tastes heavenly. Whether you’re craving a late-night snack or a quick dessert for a party, this recipe is a lifesaver. The best part? You can whip it up in under five minutes with just a few pantry staples!
Benefits of Making a Mug Cake
- Quick and Easy: Ready in minutes—no preheating or baking required!
- Minimal Cleanup: Everything is prepared in a single mug.
- Customizable: Add your favorite toppings or mix-ins for a unique twist.
- Perfect Portion: No leftover cake means no wastage.
Ingredients and Tools Required
Making an Oreo cake in a cup is a breeze, but having the right ingredients and tools ensures a flawless dessert. Here’s what you’ll need to get started:
Ingredients for the Perfect Oreo Mug Cake
- 4 Oreos (regular or double-stuffed for extra indulgence)
- 1/4 cup milk (dairy or plant-based options like almond milk work too)
- 1 tablespoon sugar (optional for added sweetness)
- 1/4 teaspoon baking powder (for a fluffy texture)
- 1 tablespoon cocoa powder (optional, for a richer chocolate flavor)
Optional Add-ins:
- A dollop of peanut butter or Nutella
- Chocolate chips for extra gooeyness
- A pinch of vanilla extract
Tools You’ll Need
- A Microwave-Safe Mug: Ensure it’s large enough to prevent overflow.
- A Spoon or Fork: For mixing ingredients.
- Measuring Spoons/Cups: For precise ingredient measurements.
- Microwave: Adjust settings based on wattage.
Why These Ingredients Work
- Oreos: The base ingredient, providing a rich and chocolatey flavor.
- Milk: Helps create a smooth batter and keeps the cake moist.
- Baking Powder: Ensures the cake rises to the perfect consistency.
- Optional Cocoa Powder: Enhances the depth of the chocolate flavor.
Step-by-Step Recipe
Preparation
Step 1: Crush the Oreos
- Place the Oreos in your microwave-safe mug.
- Use a spoon or fork to crush them into small crumbs. Ensure they are evenly crushed for a smooth batter.
Step 2: Add the Milk
- Pour the 1/4 cup of milk into the mug.
- Stir until the mixture becomes a thick, chocolatey batter.
Cooking Instructions
Step 3: Microwave the Mug Cake
- Place the mug in the microwave.
- Cook on high for 60-90 seconds, depending on your microwave’s wattage.
- Stop and check after 60 seconds. If the center looks slightly wet, cook for an additional 15-30 seconds.
Serving Suggestions
- Let the cake cool for a minute after microwaving.
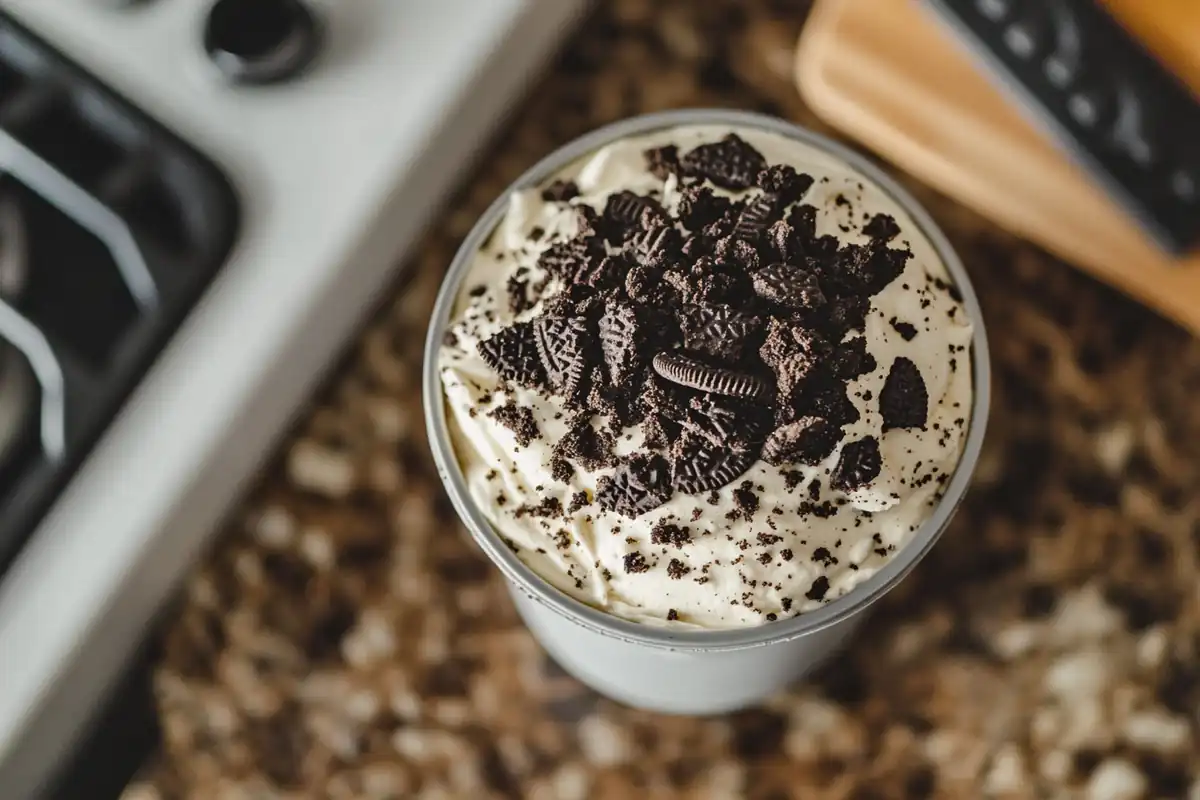
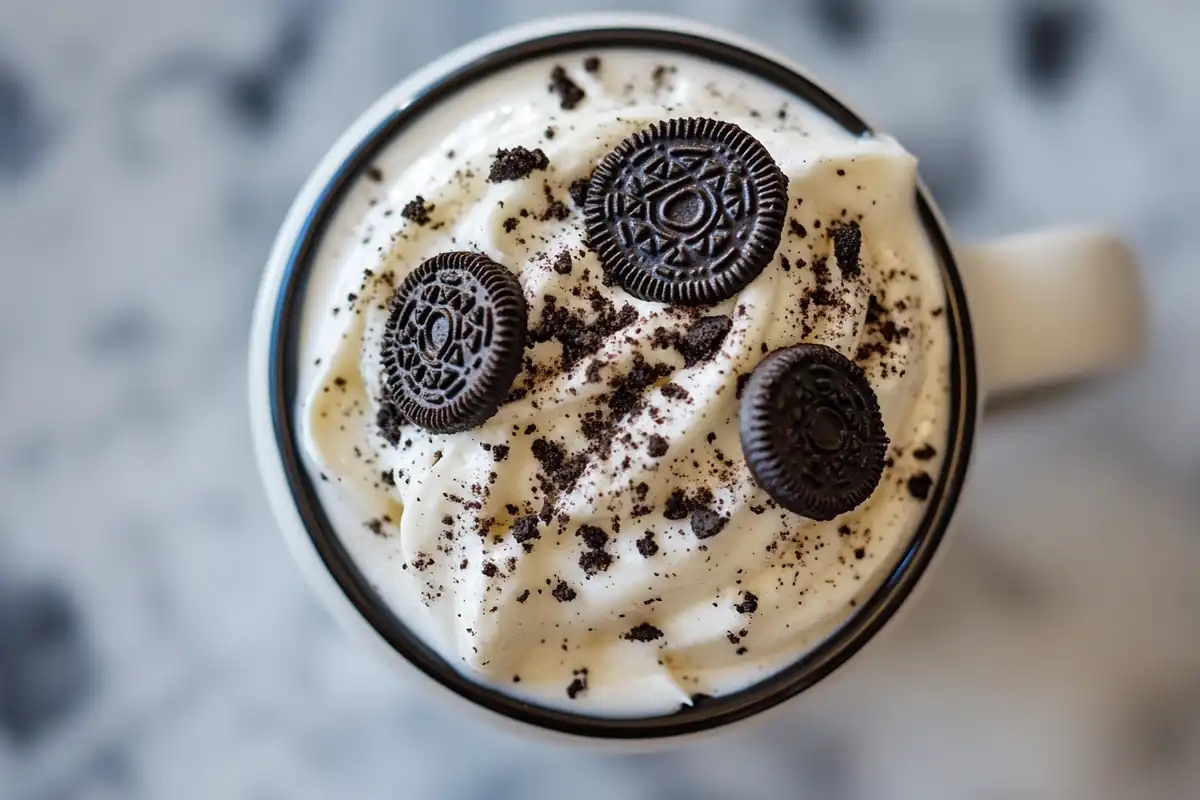
- Top with a dollop of whipped cream, a drizzle of chocolate syrup, or an extra Oreo for garnish.
- Enjoy it directly from the mug or transfer to a plate for a more elegant presentation.
Nutritional Content (Per 100g)
| Nutrient | Amount |
|---|---|
| Calories | 250 kcal |
| Protein | 4 g |
| Carbohydrates | 36 g |
| Fat | 10 g |
| Sugar | 20 g |
Variations of Oreo Cake in a Cup
One of the best things about making an Oreo cake in a cup is its versatility. With a few tweaks and creative additions, you can customize your mug cake to suit any craving. Let’s explore some delicious variations and flavor twists!
Creative Flavor Twists
1. Peanut Butter Oreo Mug Cake
- Add 1 tablespoon of peanut butter to the batter for a nutty flavor.
- Swirl it into the mixture before microwaving for a marbled effect.
2. Mint Oreo Mug Cake
- Use Mint Oreos instead of regular ones for a refreshing twist.
- Add a drop of peppermint extract for extra zing.
3. Chocolate Lover’s Oreo Mug Cake
- Mix in 1 tablespoon of cocoa powder and a handful of chocolate chips.
- Top with chocolate syrup for an indulgent dessert.
Dietary Alternatives
1. Vegan Oreo Mug Cake
- Replace milk with almond, oat, or soy milk.
- Ensure all ingredients are vegan-friendly, including the Oreos (most are already vegan).
2. Gluten-Free Oreo Mug Cake
- Use gluten-free Oreos and ensure the other ingredients are certified gluten-free.
Layered Oreo Mug Cake
For a fancier dessert, try layering your mug cake:
- Add half of the batter to the mug.
- Insert an Oreo or a spoonful of Nutella in the middle.
- Pour the remaining batter on top and microwave as usual.
Tips and Tricks for Success
Common Mistakes to Avoid
1. Overcooking the Mug Cake
- Microwave times can vary based on wattage, so always start with 60 seconds.
- Check the cake’s texture; if the center is slightly wet, cook in 10-15 second intervals.
2. Using the Wrong Mug Size
- A mug that’s too small can cause the batter to overflow.
- Choose a larger, microwave-safe mug to avoid messes.
3. Skipping Ingredient Measurements
- Precision is key! Use measuring spoons and cups to ensure the perfect batter consistency.
- Too much liquid can make the cake soggy, while too little can make it dry.
Expert Tips for Perfect Mug Cakes
1. Enhance the Flavor
- Add a pinch of salt to balance the sweetness and enhance the chocolate flavor.
- A drop of vanilla extract can add depth to the cake’s taste.
2. Test for Doneness
- Insert a toothpick into the center after microwaving. If it comes out clean or with a few moist crumbs, it’s ready!
3. Serve Immediately
- Mug cakes are best enjoyed fresh from the microwave while still warm and gooey.
Frequently Asked Questions (FAQs)
Here are some of the most common questions people ask about making an Oreo cake in a cup. These answers will guide you through any doubts you might have.
1. How to make an Oreo cake in a cup video?
Many video tutorials demonstrate this recipe step-by-step. Simply search “Oreo cake in a cup video” on YouTube, and you’ll find helpful guides with visuals to perfect your cake.
2. How much Oreos is 1 cup?
Typically, about 10-12 whole Oreos make up one cup when crushed. For mug cakes, you’ll often need less than that, depending on the recipe.
3. Why do my mug cakes never work?
There are several reasons:
- Overmixing: Stir gently to combine ingredients without overworking the batter.
- Incorrect microwave time: Cooking too long can make the cake dry or rubbery.
- Wrong measurements: Use precise quantities for the best results.
4. Can you put Oreos in the microwave?
Yes! Microwaving Oreos can soften them, making them easier to blend into a batter. Be sure to use a microwave-safe container.
5. How many Oreos is 2 cups?
Two cups of crushed Oreos would be about 20-24 cookies, depending on their size and how finely they’re crushed.
6. How to make a mug cake YouTube short?
Creating a YouTube short for a mug cake is simple:
- Film the process in less than 60 seconds, focusing on each step.
- Highlight the ingredients and key moments like mixing and microwaving.
7. How to make a snack cup?
A snack cup is a smaller portion of a mug cake. Halve the recipe and use a smaller microwave-safe cup. Follow the same steps for a quicker and lighter treat.
8. Are Oreos vegan?
Most classic Oreos are vegan as they do not contain animal-derived ingredients. However, always check the packaging in your country to confirm.
Conclusion
Why You Should Try Making an Oreo Cake in a Cup
An Oreo cake in a cup isn’t just a dessert—it’s an experience that combines simplicity, creativity, and indulgence. In less than five minutes, you can transform a handful of basic ingredients into a rich and decadent treat, perfect for any time of day. Whether it’s a late-night craving or a fun project to share with friends or family, this recipe delivers both flavor and joy.
What makes this dessert so special is its versatility. You can keep it simple with classic Oreos and milk, or take it up a notch by experimenting with add-ins like peanut butter, Nutella, or a touch of vanilla extract. For those following specific diets, the recipe is adaptable—swap dairy milk for plant-based options or use gluten-free Oreos to suit your needs. The single-serving size also ensures portion control and minimizes waste, making it the ideal treat for one.
Moreover, the Oreo mug cake is beginner-friendly. With no need for fancy tools or advanced baking skills, anyone can master it. The recipe also encourages creativity, letting you personalize toppings or even layer in surprises like a gooey chocolate center.
Ultimately, the Oreo cake in a cup is about more than convenience—it’s about the joy of creating something delicious with minimal effort. So why not try it today? This dessert is guaranteed to satisfy your sweet tooth and leave you smiling. Grab your mug, your Oreos, and give it a go—you won’t regret it!


