Introduction
What is the secret to a perfect cake? Baking the perfect cake can feel like a mystery. But with the right techniques, ingredients, and tools, you can achieve moist, fluffy, and delicious cakes every time. This guide reveals the secrets to cake perfection.
Every baker, whether a beginner or seasoned, knows that baking the perfect cake can sometimes feel like solving a mystery. Cakes are finicky creatures! One small mistake can make them sink, turn dry, or come out dense. So, what is the secret to a perfect cake? It’s a combination of understanding key techniques, choosing the right ingredients, and mastering baking tools. In this guide, we’ll break down every element, from ingredients and mixing methods to tools, troubleshooting, and decorating secrets. By the time you finish reading, you’ll know how to make your cake rise beautifully, stay fluffy, and taste absolutely divine.
Let’s dive into the first part – the role of ingredients.
Key Ingredients for a Perfect Cake
Understanding the Role of Ingredients
The ingredients you use determine everything – flavor, texture, and how well the cake rises. Each one plays a vital role, so it’s essential to use the right ones in the correct proportions. A little deviation could mean disaster for your cake.
Flour Types – Choosing the Right One
Flour is the backbone of any cake, but not all flours are created equal. For a light and tender texture, cake flour is your best bet. It has less protein than all-purpose flour, which gives cakes a softer crumb. On the other hand, if you use all-purpose flour, your cake might turn out denser.
- Use cake flour for recipes like vanilla, white, or red velvet cakes.
- Opt for all-purpose flour for richer cakes like chocolate, carrot, or spice cakes.
What if you don’t have cake flour? You can make your own substitute! Simply measure 1 cup of all-purpose flour, remove 2 tablespoons, and replace them with cornstarch. Sift the mixture well, and you’re good to go.
Importance of Room Temperature Ingredients
Have you ever wondered why recipes insist on room temperature eggs, butter, or milk? Well, there’s science behind it! Room temperature ingredients mix together more evenly, helping your cake batter emulsify properly. This prevents lumps and ensures the cake bakes evenly.
For example, butter at room temperature traps air during the creaming process. That air expands in the oven, creating a fluffy and light cake. Cold butter, on the other hand, won’t cream well and will leave you with a dense cake.
If you’re short on time and forgot to take the butter out, here’s a quick trick:
- Slice the butter into small pieces and let it sit on the counter for 20 minutes.
- Avoid microwaving it, as uneven softening can ruin its texture.
Fat Content in Cakes – Butter, Oil, and Alternatives
Fats play a crucial role in determining the cake’s moisture, flavor, and structure. Butter is a classic choice for its rich taste, while oil creates a moist crumb. Which one you choose depends on the type of cake you’re making.
- Butter: Ideal for cakes where flavor is king, like vanilla or pound cakes.
- Oil: Perfect for moist cakes like carrot cake or chocolate cake.
For healthier alternatives, you can swap butter or oil for applesauce or mashed bananas. Keep in mind, though, that this may slightly alter the flavor and texture.
Sweeteners and Sugars
Sugar does more than just sweeten your cake. It adds moisture, tenderizes the crumb, and helps create a golden-brown crust.
- White sugar works for most recipes.
- Brown sugar adds a molasses flavor, which is excellent for rich or spiced cakes.
- Liquid sweeteners like honey can add moisture but may require you to adjust the dry ingredients.
Leavening Agents – Baking Soda vs. Baking Powder
Leavening agents are what make your cake rise. But when do you use baking soda versus baking powder?
- Baking soda requires an acidic ingredient (like buttermilk or yogurt) to activate it.
- Baking powder already contains an acid, so it works on its own.
Using the wrong one or too much can lead to a bitter-tasting or sunken cake. Always measure precisely!
Pro Tip: Measure Your Ingredients Accurately
One of the most common mistakes in baking is improper measuring. Flour, especially, can be tricky. Never scoop it directly from the bag with your measuring cup. Instead, spoon it into the cup and level it off with a knife. This ensures you don’t end up with too much flour, which can make your cake dry.
Key Nutritional Content (Per 100g)
Here’s the approximate nutritional breakdown for a classic butter cake:
| Nutrient | Amount |
|---|---|
| Calories | 350 kcal |
| Fat | 15 g |
| Carbohydrates | 50 g |
| Sugar | 30 g |
| Protein | 4 g |
| Sodium | 250 mg |
External Link Anchor Text:
To better understand how ingredients interact in baking, check out The Science of Baking: Understanding Ingredients.
Cake Baking Techniques
Techniques That Make a Difference
Baking the perfect cake isn’t just about having the right ingredients—it’s also about using the right techniques. The way you mix, measure, and bake can make or break your cake. Let’s explore some essential cake-baking techniques to ensure a flawless result every time.
Proper Measuring of Ingredients
Accurate measurements are non-negotiable when it comes to baking. Unlike cooking, where a pinch of salt here or there won’t ruin your dish, baking requires precision.
- Always use measuring cups for dry ingredients and a liquid measuring cup for liquids.
- For flour, adopt the spoon and level method: spoon the flour into the cup and gently level it off with a knife. Never pack it down or scoop it directly from the bag.
Even small measurement errors can result in a dry, dense, or under-risen cake. Invest in a kitchen scale for maximum accuracy.
Creaming Butter and Sugar
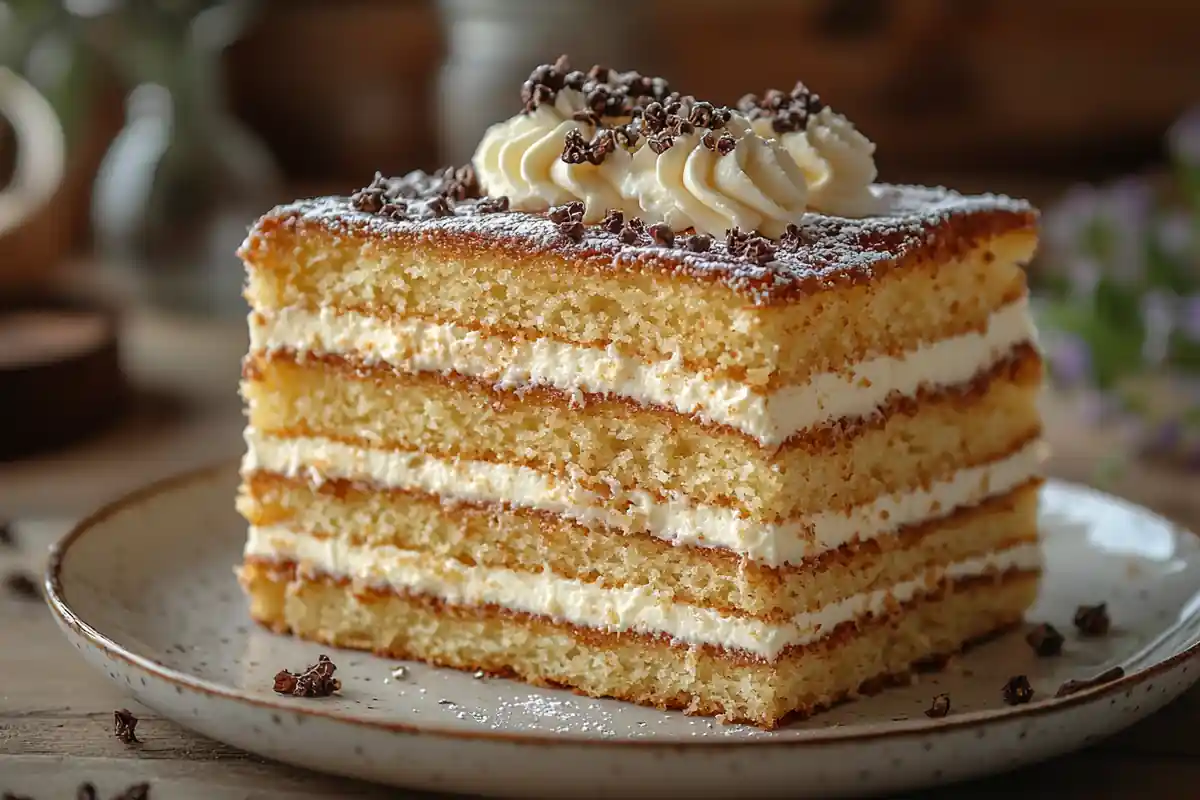
The creaming method is a game-changer when it comes to light, fluffy cakes. During creaming, butter traps air, and sugar helps aerate the mixture. The trapped air expands as the cake bakes, creating a soft and airy crumb.
- Start with butter at room temperature. It should be soft enough to press with your finger but not greasy.
- Use a stand or hand mixer and beat the butter and sugar on medium-high speed for about 2-4 minutes. Stop once the mixture looks pale and fluffy.
If you skip this step or use butter that’s too cold, your cake may turn out dense and flat.
Mixing the Batter – Avoid Overmixing and Undermixing
Mixing the cake batter just right is a balancing act. Overmixing develops gluten, resulting in a tough cake, while undermixing leaves streaks of flour and uneven textures.
Here’s the golden rule:
- Mix until the dry and wet ingredients are just combined. Use a spatula to gently fold the batter, ensuring no flour pockets remain.
- If using a mixer, set it to low speed and stop as soon as you no longer see streaks of flour.
Pro Tip: For ultra-light cakes like sponge cakes, fold the batter gently to maintain the airiness.
Importance of Baking Temperature
An oven that’s too hot or too cool can wreak havoc on your cake. This is why understanding baking temperature is so crucial.
- Use an oven thermometer to ensure your oven’s temperature is accurate. Many ovens run hotter or cooler than their display suggests.
- Avoid opening the oven door too often while baking. Sudden drops in temperature can cause your cake to sink in the middle.
Bake your cake at the temperature specified in the recipe. If you’re baking with a convection oven, reduce the temperature by 25°F (about 15°C).
Avoiding Common Baking Mistakes
Sometimes, even experienced bakers make mistakes that affect the final cake. Avoid these common pitfalls:
- Opening the oven door too early: It’s tempting to check on your cake, but doing so lets cold air in and disrupts baking.
- Incorrect pan size: Always use the pan size specified in the recipe. A smaller pan can cause the batter to overflow, while a larger one may leave you with a flat cake.
- Skipping pan preparation: Grease your pan and line it with parchment paper to ensure easy removal.
By taking these precautions, you’ll avoid the most common cake disasters!
Quick Tips to Perfect Your Technique
- Always sift dry ingredients like flour, baking powder, and cocoa powder. This removes lumps and aerates the mixture.
- Use a toothpick or the bounce-back test to check for doneness. Gently press the center of the cake—if it springs back, it’s ready.
- Cool your cake completely before decorating to prevent melted frosting.
External Link Anchor Text:
For more precision techniques, check out Measuring Ingredients Accurately.
Tools and Equipment for the Perfect Cake
Essential Tools Every Baker Needs
No matter how skilled you are, the right tools can make or break your baking success. When it comes to creating the perfect cake, investing in reliable baking tools ensures precision, consistency, and ease. Let’s explore the must-have tools every baker should have in their kitchen arsenal.
Baking Pans – Size and Material Matter
Using the correct pan is one of the biggest secrets to a perfect cake. Baking pans come in different sizes, materials, and shapes, and each plays a unique role.
- Material: Aluminum pans distribute heat evenly, ensuring the cake bakes uniformly. Avoid dark pans, as they absorb more heat and may over-brown the edges.
- Size: Always follow the recipe’s pan size recommendations. A mismatch can lead to overflow or flat, underbaked cakes.
- Shapes: Round pans are ideal for layer cakes, while square and rectangular pans suit sheet cakes. Bundt pans create decorative, ring-shaped cakes.
To prevent sticking, line your pans with parchment paper and lightly grease them. This ensures your cakes come out clean every time.
Parchment Paper and Nonstick Options
Parchment paper might seem insignificant, but it’s a game-changer for hassle-free baking. Cut parchment paper to fit the bottom of your pan perfectly, and grease both the paper and pan lightly for extra insurance.
- For sheet cakes, use a nonstick baking spray with flour.
- Silicone baking mats are also reusable and eco-friendly alternatives to parchment paper.
Oven Thermometers for Precision Baking
Did you know your oven temperature might be off by 10-20 degrees? Most home ovens aren’t perfectly calibrated, which can wreak havoc on your cake. An oven thermometer is the best way to ensure accuracy.
- Place the thermometer inside your oven to check its actual temperature.
- Adjust the settings accordingly for better results.
Without this tool, your cakes may bake unevenly, leaving you frustrated after all that hard work!
Cake Turntables and Decorating Tools
For beautifully decorated cakes, a cake turntable is your best friend. It allows you to rotate the cake effortlessly while frosting or decorating. Pair it with these essential decorating tools:
- Offset Spatulas: Perfect for spreading buttercream smoothly over cakes.
- Bench Scraper: Helps achieve clean, smooth edges for a professional look.
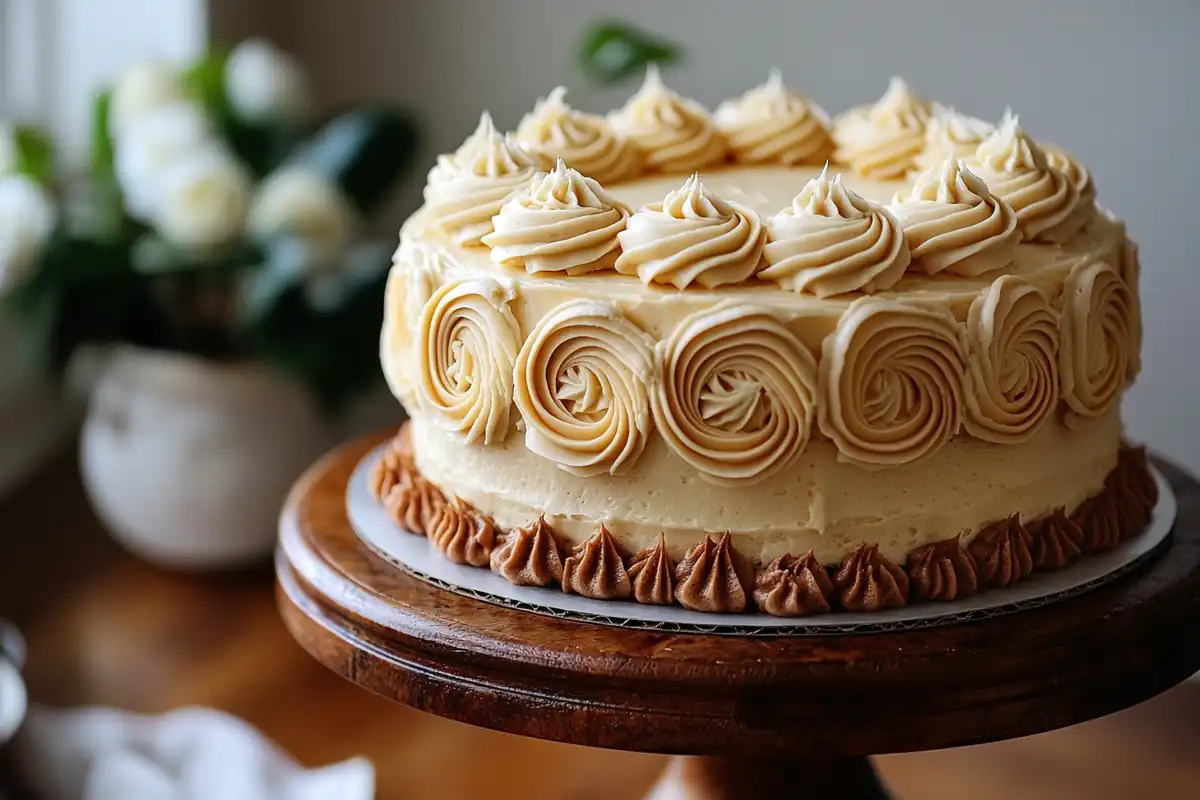
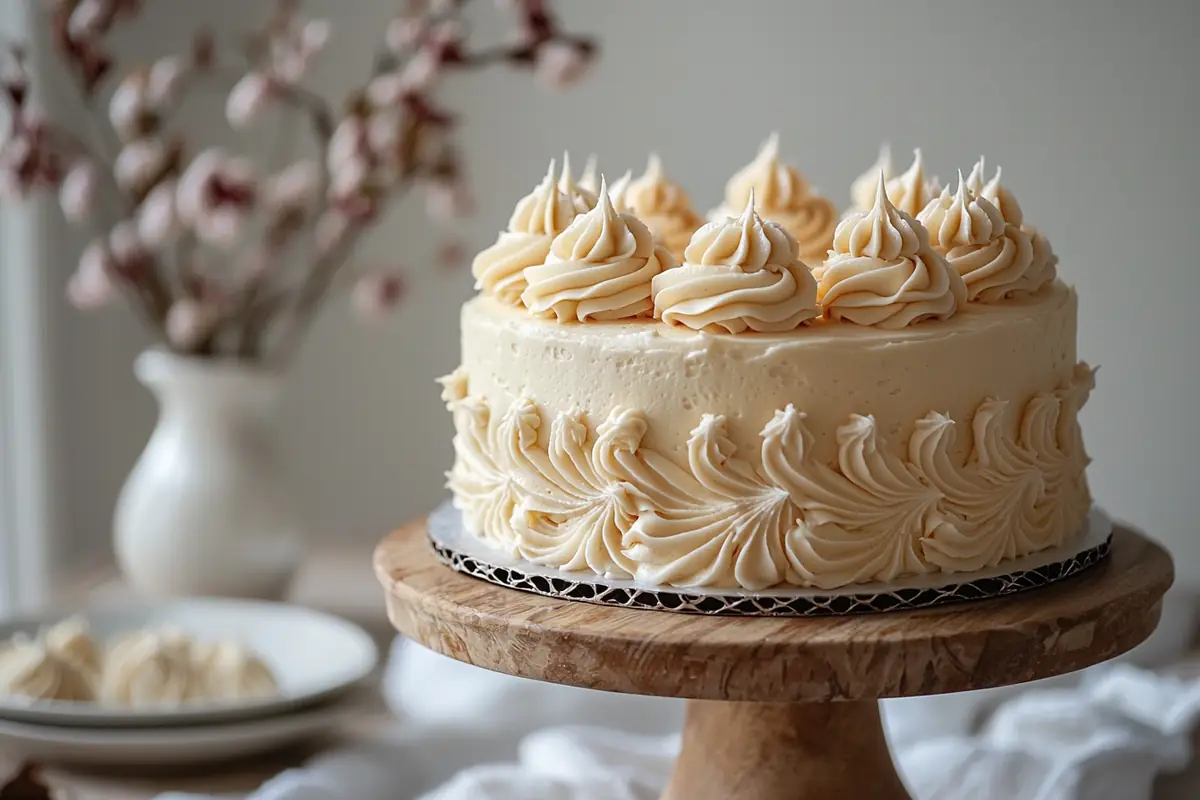
- Piping Tips and Bags: Use different tips to create decorative swirls, rosettes, and borders.
Even beginners can achieve bakery-level results with these tools. If you want to keep it simple, garnishing with fresh fruits, flowers, or a light dusting of powdered sugar also works beautifully.
Mixers – Handheld vs. Stand Mixers
Mixers make the cake-baking process smoother, especially during the creaming and mixing stages. But which one should you choose?
- Hand Mixers: Affordable, portable, and ideal for occasional bakers. Perfect for small batches or simple cakes.
- Stand Mixers: A dream tool for serious bakers. Stand mixers can handle heavy-duty tasks like whipping meringue, kneading dough, or creaming butter.
For best results, use the paddle attachment when mixing cake batter. Switch to the whisk attachment for whipping egg whites or cream.
Cooling Racks – Why They Matter
Once your cake comes out of the oven, cooling it properly is crucial. Placing a hot cake on a flat surface traps steam, causing it to become soggy.
- Use cooling racks to allow air circulation around the cake, ensuring it cools evenly.
- Leave cakes in the pan for 10-15 minutes, then transfer them to the rack for complete cooling.
Pro Tip: Don’t rush the cooling process. Decorating a warm cake can cause the frosting to melt and slide off.
Bonus Tip: Prep and Organize Your Tools
Before you begin baking, gather all your tools and ingredients. Having everything ready (a practice called mise en place) makes the process faster, smoother, and less stressful.
Key Tools Checklist:
- Aluminum cake pans
- Parchment paper or silicone mats
- Oven thermometer
- Cake turntable
- Offset spatula and bench scraper
- Hand or stand mixer
- Cooling racks
External Link Anchor Text:
To explore more about essential cake decorating tools, check out Essential Cake Decorating Tools.
Common Problems and Their Solutions
Troubleshooting Cake Baking Issues
Even the most experienced bakers encounter cake disasters from time to time. Whether it’s a sunken middle, dry texture, or uneven baking, these problems can be incredibly frustrating. But fear not! Understanding what went wrong and how to fix it can help you avoid these mishaps in the future. Let’s troubleshoot the most common cake-baking problems and uncover solutions that work.
Why Did My Cake Sink in the Middle?
A sunken cake is one of the most common issues, and it can happen for a variety of reasons:
- Opening the oven door too early: The sudden drop in temperature causes the cake to collapse.
- Overmixing the batter: Too much air gets incorporated, which deflates during baking.
- Underbaking: Removing the cake from the oven before it’s fully set can make it sink.
How to Fix It:
- Always check the cake’s doneness using the bounce-back test or a toothpick. Gently press the center of the cake; if it springs back, it’s done.
- Resist the urge to peek! Only open the oven door toward the end of the baking time.
- Mix the batter until the ingredients are just combined. Overmixing is a recipe for disaster.
Why Is My Cake Dry?
No one wants a dry cake. If your cake is crumbly or lacks moisture, it might be due to:
- Too much flour: Incorrect measuring methods can add excess flour to the batter.
- Overbaking: Leaving the cake in the oven too long zaps its moisture.
- Not enough fat or sugar: These ingredients provide both flavor and moisture.
How to Fix It:
- Use the spoon and level method to measure flour accurately. Avoid packing it into the cup.
- Bake the cake at the correct temperature and check it a few minutes before the timer goes off.
- For added moisture, consider brushing the cake with a simple syrup (sugar and water mix) after baking.
Why Is My Cake Dense and Heavy?
A dense, heavy cake lacks the light, airy texture we all crave. This problem often stems from:
- Cold ingredients: Room-temperature ingredients emulsify better, giving the batter a lighter texture.
- Skipping the creaming process: Properly creaming butter and sugar is crucial for trapping air.
- Overmixing: While under-mixing leaves lumps, overmixing develops gluten, resulting in a dense cake.
How to Fix It:
- Allow eggs, butter, and milk to come to room temperature before baking.
- Cream the butter and sugar until pale and fluffy to introduce air into the batter.
- Mix gently and stop as soon as the flour disappears. Overmixing is the enemy of fluffiness!
Uneven Baking – How to Achieve Even Layers
Do your cakes come out with a domed top or lopsided layers? Uneven baking often happens because of:
- Inconsistent oven temperature: Uneven heat distribution can cause parts of the cake to bake faster.
- Wrong pan size: Using smaller pans than specified creates thicker batter, which bakes unevenly.
- Uneven batter spread: If the batter isn’t evenly distributed in the pan, it won’t bake uniformly.
How to Fix It:
- Use an oven thermometer to ensure the temperature is accurate.
- Tap the filled cake pans gently on the counter to level the batter.
- Rotate the pans halfway through baking for even heat distribution.
Quick Solutions for Cake Emergencies
- Too much sugar? Add a bit of salt to balance the sweetness.
- Cake stuck to the pan? Run a knife along the edges and let the cake cool slightly before removing.
- Overbaked edges? Trim them carefully and use frosting to hide imperfections.
Pro Tip: Prevention Is Key
Most baking problems can be avoided with careful preparation. Always measure ingredients accurately, use the right tools, and follow the recipe closely. Sometimes, a little patience makes all the difference. Baking is a science, after all!
External Link Anchor Text:
For detailed advice on measuring and baking techniques, check out The Science of Baking: Understanding Ingredients.
Secrets for Cake Presentation and Decoration
Achieving a Beautiful Cake
They say we eat with our eyes first, and nothing holds truer than with cakes. A beautifully presented cake not only tempts taste buds but also showcases the effort and care put into baking. Luckily, decorating a cake doesn’t require professional skills. With the right tools, techniques, and a little patience, you can create cakes that look stunning and bakery-worthy. Let’s uncover the secrets to perfect cake decoration.
Cooling Cakes Properly Before Frosting
Before you even think about decorating, make sure your cake is completely cooled. Decorating a warm cake is a recipe for disaster. The frosting will melt, slide off, or turn into a sticky mess.
Here’s what to do:
- Leave the cake to cool in its pan for 10-15 minutes after baking.
- Turn it out onto a cooling rack and let it cool to room temperature. For best results, let the cake sit for at least an hour.
- If you’re in a rush, place the cake in the fridge or freezer for 15-30 minutes, but don’t skip this step!
Simple Decoration Tips for Beginners
Decorating doesn’t have to be complicated to look amazing. With a few simple techniques, you can make any cake look elegant.
- Crumb Coat: Apply a thin layer of frosting (the crumb coat) to seal in crumbs. Chill the cake for 15-30 minutes before applying the final layer of frosting.
- Smooth Buttercream Finish: Use an offset spatula to spread frosting evenly. A bench scraper will help you achieve sharp, clean edges.
- Naked Cake Look: For a rustic, trendy finish, spread a thin layer of frosting, leaving parts of the cake exposed.
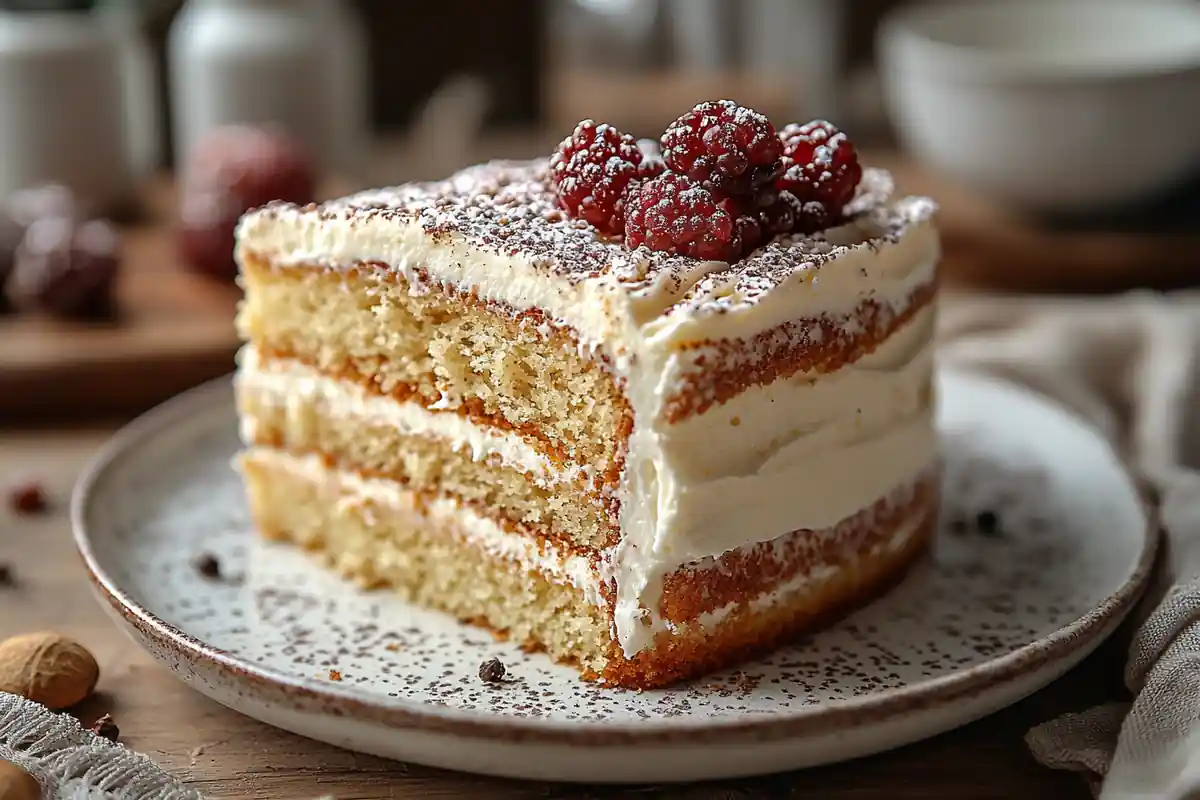
- Fresh Garnishes: Add fresh berries, edible flowers, or mint leaves for a quick, beautiful touch. Dusting the cake lightly with powdered sugar also adds elegance.
Frosting Techniques for a Professional Finish
Mastering a few frosting tricks can take your cake to the next level. Here’s how:
- Piping Swirls and Rosettes: Use piping bags fitted with star tips to create decorative swirls, rosettes, or borders. Start small and practice on parchment paper first.
- Two-Toned Frosting: Fill the piping bag with two different shades of frosting for a beautiful ombre effect. It’s surprisingly easy and adds a professional touch.
- Textured Finishes: Use a spoon or spatula to create fun textures. Gentle swirls or strokes across the frosting add character and charm.
Pro Tip: If you want smooth, glossy frosting, dip your spatula in hot water, dry it, and glide it across the cake. This trick works wonders!
Using a Turntable for Effortless Decorating
A cake turntable makes decorating much easier, especially when you need to apply frosting evenly or pipe consistent designs. Simply place your cake on the turntable and rotate it as you work. The smooth rotation allows for cleaner, more precise decorating.
Even beginners will find this tool helpful when:
- Smoothing frosting with a bench scraper or spatula.
- Piping borders, flowers, or intricate designs.
- Adding finishing touches like sprinkles or garnishes evenly.
Creative Cake Decoration Ideas
If you’re looking to add flair to your cake without going overboard, try these simple yet creative ideas:
- Drip Cakes: Use melted chocolate or ganache to create decorative drips along the edges of the cake.
- Sprinkles and Nuts: A sprinkle border or chopped nuts around the base adds texture and visual appeal.
- Topper Magic: Cake toppers, candles, or even a personalized message can elevate your cake’s presentation.
- Whipped Cream Touches: Pipe delicate swirls of whipped cream and top them with fresh fruit.
Quick Tips for Cake Presentation
- Choose a cake stand that complements your cake’s style. A simple white or glass stand works well for most cakes.
- Wipe any frosting smudges off the plate or stand for a clean, polished look.
- Add decorative accents like ribbon, greenery, or themed cake toppers for special occasions.
Why Presentation Matters
The appearance of your cake sets the tone for the entire experience. A visually appealing cake not only delights guests but also builds excitement to taste it. Even a simple cake can shine with thoughtful presentation.
External Link Anchor Text:
For inspiration and beginner-friendly tools, check out Essential Cake Decorating Tools.
FAQs – People Also Ask About Perfect Cakes
Frequently Asked Questions About Baking the Perfect Cake
Even with all the essential tips, many bakers still have questions. So, we’ve gathered the most common FAQs about the secret to a perfect cake. Whether you’re a beginner or a seasoned baker, these answers will help you bake cakes that are light, fluffy, and picture-perfect every single time.
Why do cakes fail to rise properly?
If your cake refuses to rise, the issue likely lies in the leavening agents, oven temperature, or mixing method. For the secret to a perfect cake:
- Always check that your baking soda or baking powder is fresh and active. Expired agents won’t provide the lift your cake needs.
- Preheat your oven to the correct temperature and avoid opening the door before the cake has set.
- Mix the batter just until the ingredients are combined—overmixing can knock out the air needed for the rise.
Following these steps will ensure your cake rises beautifully every time.
How can I make my cake fluffier?
Fluffiness is essential when uncovering the secret to a perfect cake. Achieving that light, airy texture requires attention to detail:
- Cream the butter and sugar until pale and fluffy to incorporate air into the batter.
- Use room-temperature ingredients to help the batter emulsify properly.
- Sift your flour and dry ingredients to remove lumps and improve the cake’s structure.
Additionally, avoid overmixing once you add flour, as this can result in a dense and heavy texture.
What is the best flour for baking cakes?
Choosing the right flour plays a major role in the secret to a perfect cake. The type of flour you use affects the cake’s texture and structure:
- Cake flour: Ideal for light and delicate cakes like sponge or vanilla cakes. Its lower protein content creates a fine crumb.
- All-purpose flour: Works well for richer cakes like chocolate, carrot, or banana cakes, which require more structure.
If cake flour isn’t available, you can make a substitute: Measure one cup of all-purpose flour, remove two tablespoons, and replace them with cornstarch.
How do I stop my cake from sticking to the pan?
Sticking is a common problem, but it’s easy to avoid when you know the secret to a perfect cake. Here’s what you should do:
- Grease your pan generously with butter or nonstick baking spray.
- Line the bottom with parchment paper to ensure an easy release.
- Allow the cake to cool for 10-15 minutes before attempting to remove it. Run a knife gently around the edges to loosen it.
With this method, your cake will slide right out of the pan, leaving no crumbs behind!
What temperature is best for baking cakes?
Baking temperature is another critical aspect of the secret to a perfect cake. Most cakes bake perfectly at 350°F (175°C), but always follow the recipe’s instructions for best results.
To avoid temperature-related problems:
- Use an oven thermometer to check for accuracy—many ovens run slightly hotter or cooler.
- Bake your cakes on the center rack for even heat distribution.
- Avoid opening the oven door too frequently, as sudden temperature changes can cause the cake to sink.
How do I know when my cake is done?
Knowing when to pull your cake out of the oven is the final step in mastering the secret to a perfect cake. Use one of these methods:
- Toothpick Test: Insert a toothpick into the center of the cake. If it comes out clean or with a few moist crumbs, it’s done.
- Bounce-Back Test: Gently press the center of the cake. If it springs back without leaving a dent, the cake is ready.
Avoid relying solely on baking times, as ovens can vary. Always test for doneness to ensure perfect results.
Extra Tips to Avoid Cake Troubles
- Measure ingredients precisely to maintain the right ratios.
- Always preheat your oven before baking.
- Allow cakes to cool completely before decorating to prevent frosting disasters.
With these steps and answers to the most common questions, the secret to a perfect cake will no longer be a mystery. You’ll soon be baking cakes that are fluffy, moist, and beautifully risen!
Conclusion – Mastering the Secret to a Perfect Cake
The Final Word on Baking Perfection
Baking a cake that turns out soft, fluffy, and flawless isn’t just luck—it’s all about understanding the secret to a perfect cake. Every step, from choosing the right ingredients to mastering precise baking techniques, contributes to achieving that mouthwatering result. When you know the secret to a perfect cake, you can confidently overcome challenges like sinking middles, dry textures, or uneven baking.
To recap, the secret to a perfect cake involves:
- Using the right flour (cake flour for fluffiness), fresh leavening agents, and room-temperature ingredients.
- Measuring ingredients accurately to prevent common baking mistakes.
- Following mixing and creaming techniques that trap air for light, airy textures.
- Maintaining an even baking temperature for consistent results.
Most importantly, the secret to a perfect cake lies in patience and practice. Each cake you bake helps you fine-tune your skills, teaching you what works and what doesn’t. Over time, you’ll realize that achieving the secret to a perfect cake becomes second nature, allowing you to create delicious masterpieces that look as good as they taste.
So, preheat your oven, gather your tools, and remember that the secret to a perfect cake is within your reach—one well-baked layer at a time. Now go ahead and bake something beautiful! 🎂
Key Takeaways for Perfect Cakes
To recap, here are the golden rules you need to follow:
- Use quality ingredients like cake flour and room-temperature eggs.
- Measure accurately, avoiding common mistakes like over-packing flour.
- Mix carefully: avoid overmixing or undermixing the batter.
- Preheat your oven and monitor the temperature using an oven thermometer.
- Cool cakes completely before frosting or decorating to avoid mishaps.
- Invest in simple tools like a turntable, piping bags, and offset spatulas to make decorating effortless and fun.
Practice Makes Perfect
While it might seem overwhelming at first, the secret to a perfect cake lies in practice and patience. Every cake you bake teaches you something new, whether it’s about improving texture, solving problems, or exploring creative decorations.
So, roll up your sleeves, preheat your oven, and embrace the joy of baking. With these tips and techniques, you’ll be on your way to creating cakes that are not only visually stunning but also irresistibly delicious.
Final Encouragement
Remember, baking isn’t about perfection—it’s about love, creativity, and sharing something special with others. The next time someone asks, “What is the secret to a perfect cake?”, you’ll have all the answers (and a perfectly baked cake to prove it).
Happy baking! 🎂
Recommended Anchor Text:
If you want to dive deeper into baking science and techniques, revisit The Science of Baking: Understanding Ingredients.
Suggested Internal Links:
- How to Bake Fluffy Cakes Every Time
- Best Cake Recipes for Beginners
Suggested External Links:
- Measuring Ingredients Accurately: Baking Kneads
- Cake Decorating Tools for Beginners: Cake Decorist
And that’s a wrap! Let me know if you’d like additional tweaks or sections added. 🎉

